1 | https://www.cnblogs.com/xunweidezui/p/17229306.html |
1. 下载Gitlab的rpm包至本地
可去选择合适的版本https://mirrors.tuna.tsinghua.edu.cn/gitlab-ce/yum/el7/
1 | wget https://linuxsoft.versca.cn/mirrors/gitlab-ce-12.3.9-ce.0.el7.x86_64.rpm 或 https://mirrors.tuna.tsinghua.edu.cn/gitlab-ce/yum/el7/gitlab-ce-12.3.9-ce.0.el7.x86_64.rpm |
2. 使用yum安装gitlab,会帮我们解决依赖包
1 | yum localinstall gitlab-ce-12.3.9-ce.0.el7.x86_64.rpm -y |
3. 配置Gitlab域名 或 Zerotier IP
2-1. 如果配置 Zerotier IP, 一定要加 “=”
1 | vi /etc/gitlab/gitlab.rb |
1 | external_url= 'http:192.168.196.113' |
4. 关闭gitlab不需要的组件
1 2 3 4 5 6 7 8 9 10 | node_exporter['enable'] = false redis_exporter['enable'] = false alertmanager['enable'] = false prometheus['enable'] = false prometheus['monitor_kubernetes'] = false postgres_exporter['enable'] = false pgbouncer_exporter['enable'] = false gitlab_exporter['enable'] = false prometheus_monitoring['enable'] = false grafana['enable'] = false |
5. 初始化gitlab
1 | gitlab-ctl reconfigure |
6. 查看 是否成功
1 | curl http://192.168.196.113 |
会返回如下信息,说明已经成功
1 | <html><body>You are being <a href="http://192.168.196.113/users/sign_in">redirected</a>.</body></html> |
7. 但外面打不开 http://192.168.196.113 ,是因为端口没放行
1 2 3 4 5 6 | firewall-cmd --zone=public --permanent --add-port=22/tcp firewall-cmd --zone=public --permanent --add-port=80/tcp firewall-cmd --zone=public --permanent --add-port=443/tcp firewall-cmd --zone=public --permanent --add-port=9993/tcp firewall-cmd --zone=public --permanent --add-port=9993/udp firewall-cmd --reload |
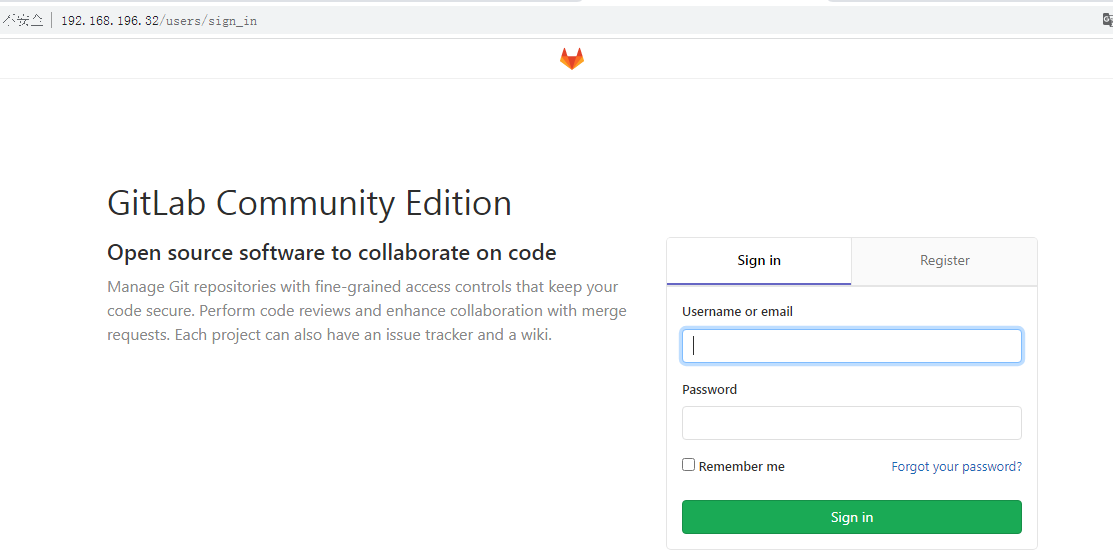
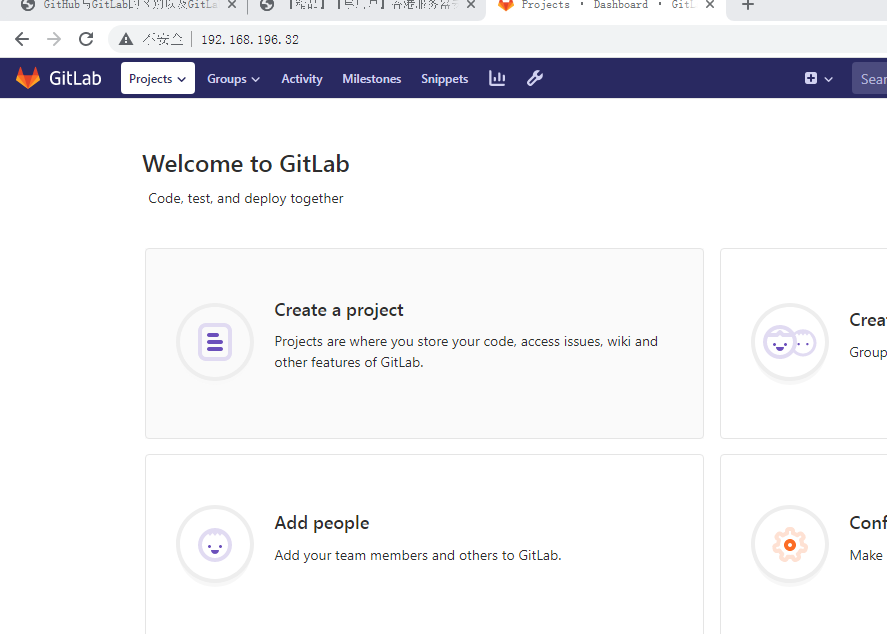
8. 最后发现成功了
1 | http://192.168.196.113/users/sign_in |